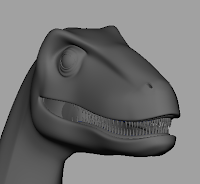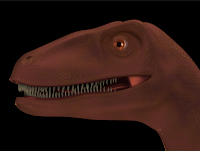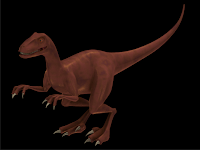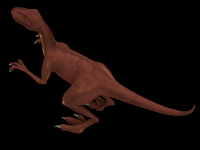


 Here's my (semi-final) Raptor. The next steps in the project were to build the head which I did by extruding ribbon-shapes that followed curves down a set path and then connected those points. I went even farther than the images posted with some sub-d modeling to add ridges to the head and knuckles, but it was taking too long to get renders.
Instead I added shaders and lights to the lower res poly model--something that wasn't covered in this tutorial at all. I got an opportunity to play with sub-surface scattering (although I don't really know what I'm doing!) and creating semi-realistic shiny scales from processed textures. I plan to take one step back and follow the next tutorial series which goes through making a UV and painted textures for this beast.


No comments:
Post a Comment