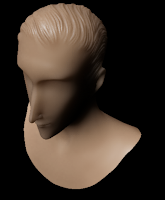
 As I'm about to jump head first into my final project for this 3D study, I'm trying to formulate a good solution for hair. I spent some time last evening playing with Maya's fur engine, which feels somewhat limited in it's offerings. I also spent some time experimenting with Mudbox to sculpt hair. This turned out to be a great lesson in what not to do with Mudbox modeling! While I like the hand-drawn hair, I'm concerned it will feel too stiff and statuesque.
Wednesday, February 23, 2011
Thinking about Hair
 As I'm about to jump head first into my final project for this 3D study, I'm trying to formulate a good solution for hair. I spent some time last evening playing with Maya's fur engine, which feels somewhat limited in it's offerings. I also spent some time experimenting with Mudbox to sculpt hair. This turned out to be a great lesson in what not to do with Mudbox modeling! While I like the hand-drawn hair, I'm concerned it will feel too stiff and statuesque.
Sunday, February 20, 2011
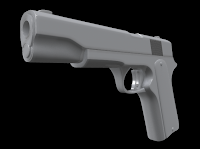
Anna and her gun.
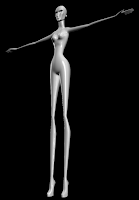
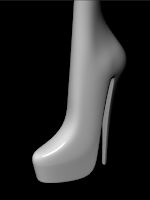
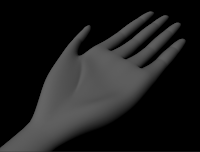


I think I'm finished modeling the female character's head and body. Also started building her robot-form. Pretty happy with the results, although I'm regretting designing such a long, thin character because she ends up looking like a stick in the HD format.
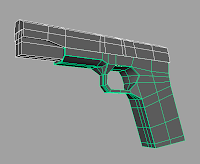
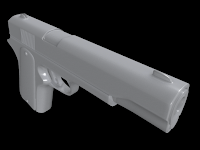
Also modeled her pistol--having fun with this "Apple" white plastic material! Proud of myself for figuring out some fairly complex issues with the gun. The most challenging part had to be the interlocking circular forms on the front of it. I don't remember exactly, but I think I made everything out cubes, which seems to be working well for me. I've been spending a little too much time getting my geometry to flow perfect and put together in quads. But it's good practice all the same.

UV Workflows
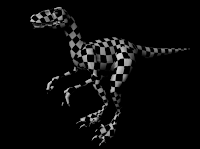
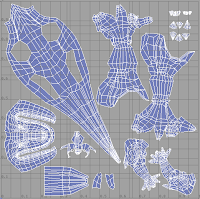
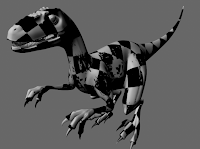 Just spent the whole day following a UV tutorial on Digital Tutors, which involved making UVs for a poly version of the Raptor I did a month ago and then transferring it to a Sub-D model that has some extra bumps and definition. Everything was going smoothly until the last step! How frustrating is that? The first problem is that Maya 2011 doesn't have a "Copy Mesh Attributes" menu item anymore, which is what the instructor uses on Digital Tutors. I had to research a work around, so I used "transfer attributes." Not sure if these both do the same thing or not. Anyway all seemed well until I did a test render and as you can see the Sub-D texture has all kinds of funky noise on it! On the bright side, I can always revert back to the Poly model that still looks sharp and just do some extra sculpting on it. Maybe do a normal map not that I've got my UVs set up so well.
I would like to know whether I made a mistake somewhere down the pipeline or if this has to do with the missing menu item?
Saturday, February 12, 2011
Props
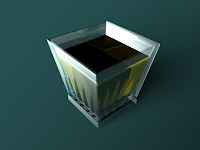
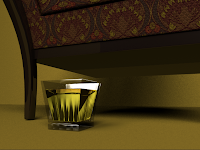
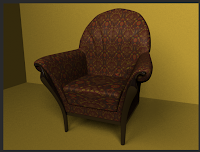 Here are some props that I'm still working on for the scene that takes place in the study. I'm still working on the couch, but I think the glass is finished. I just through the textures/materials onto these to see what the models look like--they will change completely! I still need to learn how to do a couple things with refractions and making it appear that these are REALLY made of wood, glass, fabric, etc.
Monday, February 07, 2011
Human Face
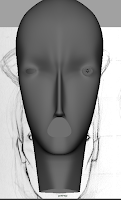
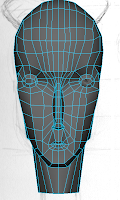
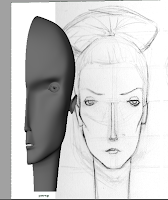
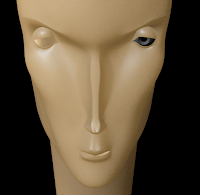 Started putting together the model for the female character's face. I was guided by a tutorial on Digital Tutors to create a "stylized female", but this is the first time I've built something to my own specs. The tutorial got me off to a nice start because I learned about creating good geometry around the eyes & mouth for animation, however I've had to deviate quite a bit because the demo model never gets as complex as mine. Still need to smooth some areas out and want to make the eyes more realistic with proper skin folds. (plus the ears!)
Thursday, February 03, 2011
The Boss
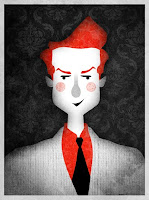 Here's a little drawing I did of a "photograph" of the Boss character from my detective project. My very talented classmate Michael Delaney is setting these stylized drawings up in a 3D city and it looks amazing so far! More to come soon.
(He unintentionally but hilariously looks kind of like Conan, huh?)
Polygon & Sub-D Workflows: Part B

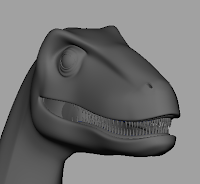
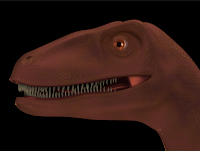
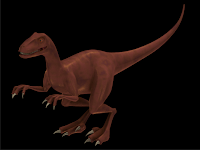
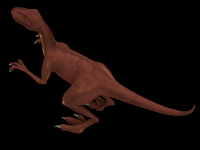 Here's my (semi-final) Raptor. The next steps in the project were to build the head which I did by extruding ribbon-shapes that followed curves down a set path and then connected those points. I went even farther than the images posted with some sub-d modeling to add ridges to the head and knuckles, but it was taking too long to get renders.
Instead I added shaders and lights to the lower res poly model--something that wasn't covered in this tutorial at all. I got an opportunity to play with sub-surface scattering (although I don't really know what I'm doing!) and creating semi-realistic shiny scales from processed textures. I plan to take one step back and follow the next tutorial series which goes through making a UV and painted textures for this beast.
Subscribe to:
Comments (Atom)

